skip to main |
skip to sidebar
 Having nothing to do at work is going to make me fat. I sit there all day browsing the internet and poking around on Recipezaar making lists of tasty sounding recipes to try. Anyway, this year's St. Patrick's Day is my friend's 21st birthday. He isn't actually Irish, but everyone is Irish on St. Patrick's Day! So I decided to make him a cheesecake (or is it really for me?).
Here is the recipe I chose to base my cake off of: Grasshopper Cheesecake. I made a few changes along the way, which are all detailed below. My buddy is mildly allergic to chocolate, so I tried to keep as little chocolate on one half of the cheesecake as possible. My crust was half graham cracker and half chocolate and 100% gluten-free. I recommend making it with a full chocolate crust. To the cake!
Ingredients:
Crust:
- 1 1/2 cup Chocolate Cookie Crumbs (I used Kinninkinnick Kinnitoos)
- 8 pieces Andes Thins Creme de Menthe Chocolates
- 1/4 cup Butter
- 1/4 tsp Cinnamon
Filling:
- 1 lb Cream Cheese*
- 1 cup Sugar, divided
- 1/3 cup Green Creme de Menthe*
- 3 tbsp Creme de Cacao
- 2 tbsp Flour (gluten-free*)
- 1/2 tsp Salt
- 6 Egg Yolks
- 6 Egg Whites
- 1 cup Sour Cream*
- 16 pieces Andes Thins Creme de Menthe Chocolates, coarsely chopped
Topping:
- 1 cup Sour Cream*
- 1/4 cup Sugar
- 3 tbsp Green Creme de Menthe*
- 1/4 cup Andes Thins Creme de Menthe Chocolates, finely grated
Notes:
- I used low fat creme cheese and sour cream and the cake came out great.
- If you don't have green Creme de Menthe, add some green coloring to the batter and use clear Creme de Menthe.
- For the 2 tbsp flour, I used Bette Hagman's Bean Mix:
- Make sure the eggs and cream cheese are room temperature before mixing.
Directions:
- Combine chocolate cookie crumbs, Andes Mint crumbs, butter and cinnamon. Mix well.
- Press into bottom and about 1 inch up sides of 9 inch springform pan.
- Put cream cheese into mixing bowl and beat until creamy.
- Add 3/4 cup sugar and mix well.
- Stir in Creme de Menthe, Creme de Cacao, flour and salt.
- Beat until well blended.
- Stir in egg yolks, sour cream and beat until smooth and well blended.
- In separate bowl, combine egg whites and 1/4 cup sguar. Beat until whites stand in soft peaks. Be 100% certain that there is not 1 tiny speck of yolk in the whites.
- Fold beaten eggs whites and coarsely chopped Andes Mints into cream cheese mixture by hand.
- Pour batter into crust and bake until toothpick or knife inserted into middle of cake comes out almost clean, or about 1 hour, in oven preheated to 325F. The top will puff up. Do not worry; this is normal.
- Do not overbake and don't worry about cracks.
- Remove from oven and place on wire rack. Cool for five minutes and run slim knife around outer edge of pan.
- Let cool for about 2 hours and place in fridge for 4 hours.
- Prepare topping by mixing together remaining cup of sour cream, 1/4 cup sugar and 3 tbsp Creme de Menthe. Mix until sugar is fully dissolved.
- Pour topping onto fully cooled cake. Spread topping evenly, being sure to cover any cracks.
- Bake in oven preheated to 350F for about 10 minutes or until topping is firm. DO NOT BROWN.
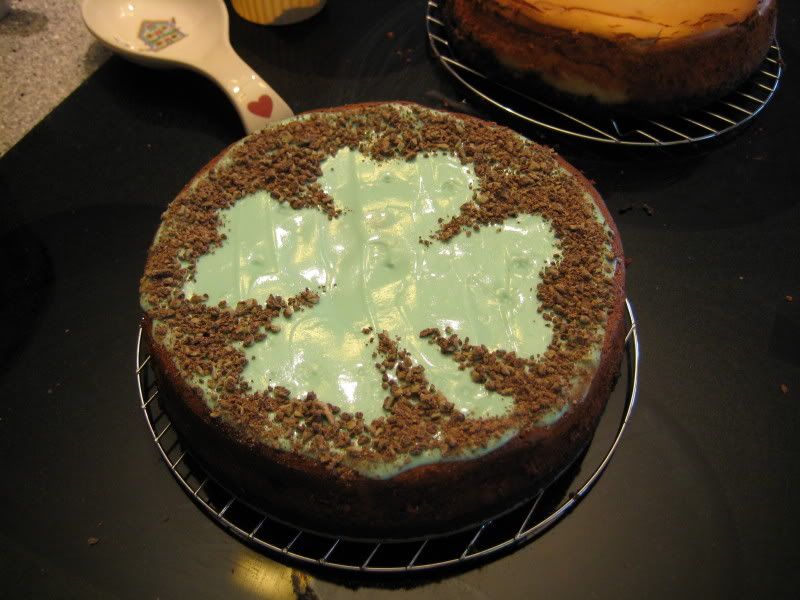
- Sprinkle grated Andes Mints onto cooled cake.
I used a piece of paper to block part of the topping and made a 4 leaf clover design. Use your imagination. 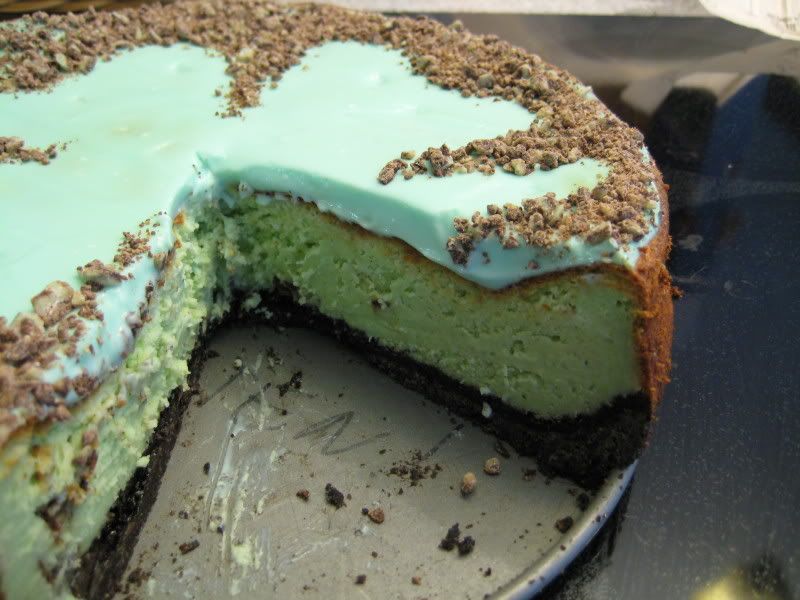 Nutritional information:12 Servings @ 2.35" each
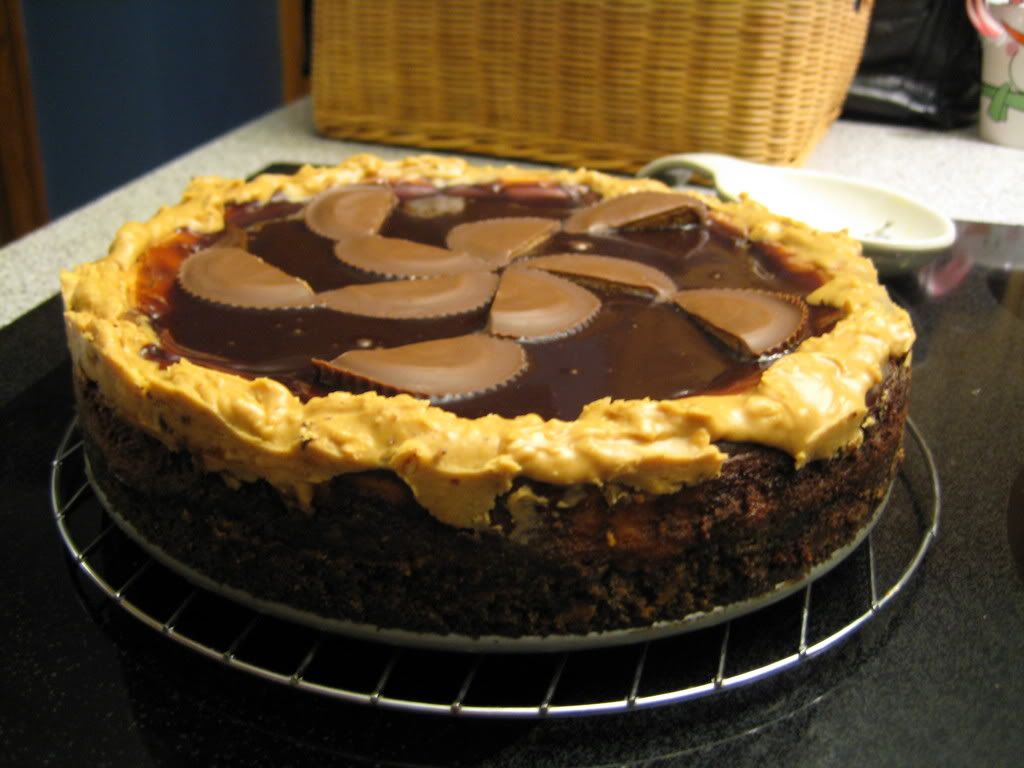
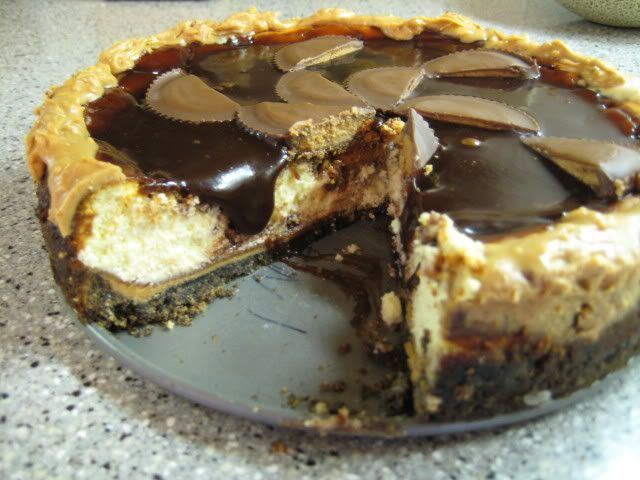 I was bored at work (hard to believe) and was poking around on Recipezaar. I somehow stumbled across the cheesecake section. Bad idea. I found three or four recipes that I have to try now. The recipes were: I decided to start with the Peanut Butter Cheesecake. I had a hard time choosing between this recipe and this one. I ended up choosing the latter; the first simply looks too sinfully decadent. Maybe another time... Anyway, keeping with my quest for making recipe's more healthy, I substituted lower fat cream cheese and lower fat sour cream. The taste difference is negligible and I'm sure my stomach will appreciate any decrease in calories, however small.
 Ingredients:Crust: Filling:
 - 3 8oz packages Cream Cheese, softened (low fat works great)
- 1 cup Sugar
- 1 cup Sour Cream (low fat works great)
- 3 large Eggs
- 1 1/2 tsp Vanilla
- 1 cup Chocolate Fudge Topping
- 6 Reese Peanut Butter Cups
Directions: - In a bowl, combine cracker crumbs, cookie crumbs, sugar and butter
- Press on the bottom and 1 inch up the sides of a greased 9 inch springform pan.
- Bake at 350º for 7-9 minutes. Cool on a wire rack.
- In a microwave safe bowl, heat peanut butter on HIGH for 30 seconds or until softened. Spread carefully over crust to within 1 inch of edges.
- In a large mixing bowl, beat cream cheese, sugar and sour cream until smooth. Add eggs and beat on low speed just until combined. Stir in vanilla. Pour one cup of cream cheese batter into a bowl and set aside. Pour remaining filling over peanut butter in crust.
- In a microwave safe bowl, heat 1/4 cup hot fudge topping on HIGH for 30 seconds or until thin. Fold into reserved cream cheese batter. Carefully spoon over filling and cut through filling with a knife to swirl being careful not to disturb peanut butter layer or the crust.
- Bake at 350º for 55-65 minutes or until center is almost set. Cool on a wire rack for 10 minutes. Carefully run a knife around the edge of the pan to loosen but do not remove sides. Cool 1 hour longer on wire rack.
- Microwave remaining hot fudge topping for 30 seconds or until warmed. Spread over cheesecake. Garnish with peanut butter cups.
- Refrigerate overnight. Remove sides of pan and serve.
I spread some chunky peanut butter around the perimeter of the top. The design is up to you, but I arranged my peanut butter cups in a spiral pattern on the top. Enjoy!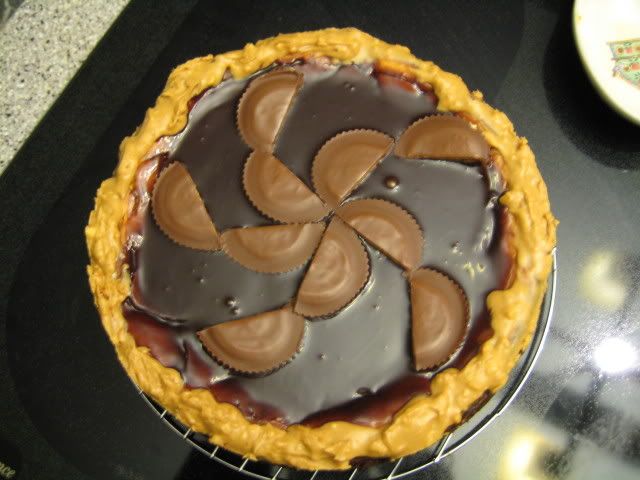 Nutritional information:
12 Servings @ 2.35" each
I was poking around Recipeezaar the other day and came across a few recipes for Pumpkin Bread. I decided I had to have some so I started searching for a gluten-free recipe. The recipe I ended up using is based off of this one: Here. I always try to make my food a little bit healthier than the recipe says. In this case, I decreased the oil from 1/2 cup to 1/4 cup and increased the applesauce to 1 full cup. Also, in line with my belief that everything is better with more cinnamon, I doubled the cinnamon and sprinkled some on top of each loaf/muffin.
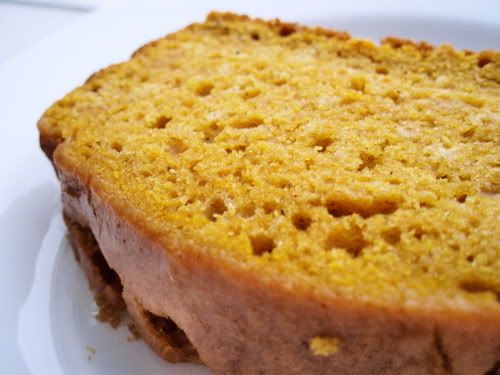 Recipe makes 6 5.75" x 3" x 2.5" loaves. I made 1 medium sized loaf (slightly larger than 5.75" x 3" x 2.5"), 2 mini loaves and 12 muffins. These came out very moist and delicious. I did not experience any deflating as is typical of GF breads. I gave some to my car-pool buddy and he said it tasted like regular glutened bread! Success!
Ingredients: - 4 cups Flour (gluten-free)*
- 2 tsp Cinnamon
- 2 tsp Baking Soda
- 1 tsp Baking Powder
- 1 1/2 tsp Salt
- 2 tsp Xanthan Gum or Guar Gum
- 1/2 tsp Clove
- 1 tsp Allspice
- 1 tsp Nutmeg
- 1 cup White Sugar
- 2/3 cup Brown Sugar
- 15 oz Pumpkin Puree (such as Libby's)
- 4 Large Eggs
- 1/4 cup Canola Oil
- 1 cup Unsweetened Applesauce
- 1 cup Nonfat Milk (or water)
* For the flour mix, I used Bette Hagman's Mix:
Directions: - In large mixing bowl, beat eggs.
- Beat in sugar, pumpkin, applesauce and oil.
- Whisk together all of the dry ingredients and beat in 1/2 at a time. (I beat in all of the spices and half of the flour at once and then beat the remaining half of the flour)
- Slowly beat in milk until mixed and there are no flour lumps. Optional: Add 1 1/2 cups chocolate chips.
- Pour batter into 6 greased and floured small loaf pans until each is about 2/3 to 3/4 full. Be aware that the loaves will rise several inches.
- Sprinkle brown sugar and cinnamon on top of each loaf.
- Bake in preheated oven at 350F for 40-45 minutes or until toothpick inserted into middle of loaf comes out clean. If making muffins, cook at 350F for about 30-35 minutes.
- Remove from oven and place on wire rack to cool. Turn loaves upsidedown to remove from pan.
I ate 3 of the muffins straight out of the oven while they were still piping hot. The next day I made some apple-butter which complimented the bread perfectly. I stuck the remaining muffins in a bag along with the larger loaf and have been eating it for the past week. I froze the 2 mini loaves, hopefully they thaw well.
Nutritional information:
Be sure to post a review of my recipe on Recipezaar: http://www.recipezaar.com/gluten-free-pumpkin-bread-359480