skip to main |
skip to sidebar
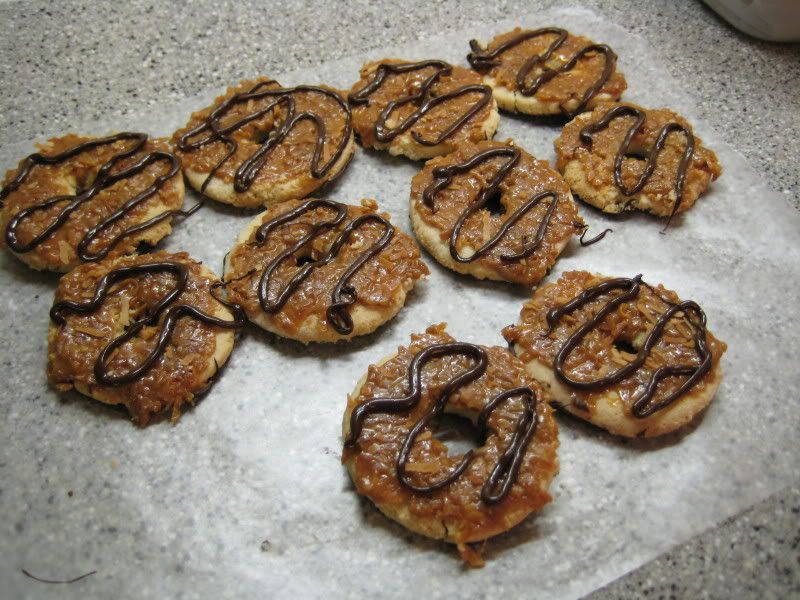
Samoas were my favorite type of girl-scout cookie before going gluten-free. Now I haven't had one in over two years. When I saw a recipe for homemade Samoas, I knew I had to make a batch that was gluten-free.
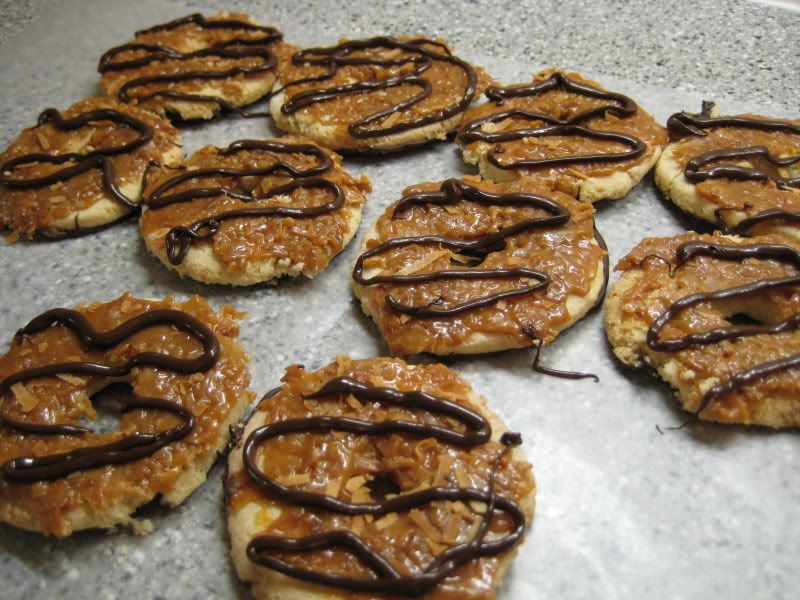
These take a while to make and are completely terrible for you but it's so worth it!
Ingredients:
Batter:
- 1 cup Butter, softened
- 1/2 cup Sugar
- 2 cups Gluten-Free Flour*
- 1/4 tsp Baking Powder
- 1/2 tsp Salt
- 1/2 tsp Vanilla
- 1 tsp Xanthan Gum
Caramel-Coconut
Topping:
- 3 cups shredded Coconut (sweetened or not)
- 12 oz Caramels (I used Milk Maids)
- 1/4 tsp Salt
- 3 tbsp Milk
Chocolate:
- 8oz Semisweet Milk Chocolate
* For the flour mix, I used Bette Hagman's Mix with great success:
Directions:
- Cream together butter and sugar.
- Mix in flour, baking powder, salt and xanthan gum at low speed.
- Stir in vanilla. If dough is too dry, add milk 1 tbsp at a time. If dough is too sticky, add flour 1 tbsp at a time. I ended up adding about 3 tbsp extra flour.
- Roll dough to slightly less than 1/4" thick between two pieces of well floured parchment paper (I used sweet-rice-flour).
- Using a circle cookie cutter about 1.5-2" in diameter, make rounds out of the flattened dough. Use a knife to cut out the center of each round. The end result should look kind of like a flat doughnut.
- Reroll left over dough and continue making rounds until no dough remains. Keep rolling surfaces well floured.
- On a parchment lined baking sheet, bake cookies in preheated oven at 350F for 10-12 minutes or until the edges start to brown.
- When removing them from the oven, it is very important that you do not break them. They will be very fragile until they cool. Allow to cool completely before topping with caramel coconut mixture.
- Lower oven temperature to 300F. Spread coconut evenly on parchment lined baking sheet and toast for 20 minutes. Stir every 5 minutes until coconut is evenly browned. Cool on baking sheet.
- Unwrap caramels and place in a large microwave-safe bowl with milk and salt. Cook on high for 3-4 minutes, stirring every 45 seconds or so until well combined.
- Fold in shredded coconut.
- Using a high quality silicone spatula, spread caramel mixture even onto cooled cookies. You may break the cookies doing this, but do not worry, the caramel will hold it all together when cooled. Reheat caramel mixture as necessary while spreading.
- Allow caramel mixture to set.
- Melt chocolate in microwave, stirring every 40 seconds or so to prevent scorching.
- Turn cookies upside down on parchment paper and spread a thin layer of chocolate on bottom of cookies. Transfer cookies top-down to fridge to harden chocolate before proceeding to next step.
- Using the remaining melted chocolate (or melt more), pipe topping onto cookies. I used a plastic bag with a small hole cut in the corner.
- Allow chocolate topping to harden before storing in airtight container.

You probably don't want to know the nutrition information... I ended up with about 22 big cookies: 287 calories, 146 from fat, 17g fat, 11.1g sat fat, 23mg chol., 35g carbs, 2g fiber, 24g sugar, 2.2g protein. Yikes!
If you ever had wondered what to do with overripe bananas, you can stop now. I have come across banana bread nirvana. Original recipe credit goes to Chris on the Delphi forums.
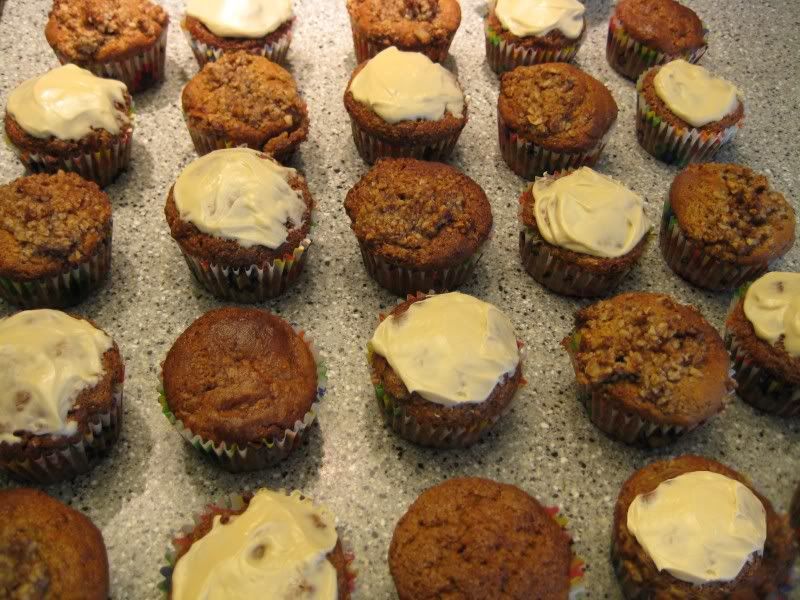
I bought about 20 pounds of bananas from Kroger for $1.00 and have been trying several recipes to use them up. I made 2 different banana breads and some banana butter. The first banana bread I made turned out rather dry and tasteless; the banana butter fixed that but I was still searching for something more. This particular recipe was my favorite creation by far and my favorite banana bread to date. I delivered 8 of these fresh out of the oven to my mother and her coworkers (about 10 minutes away, I drove quickly).
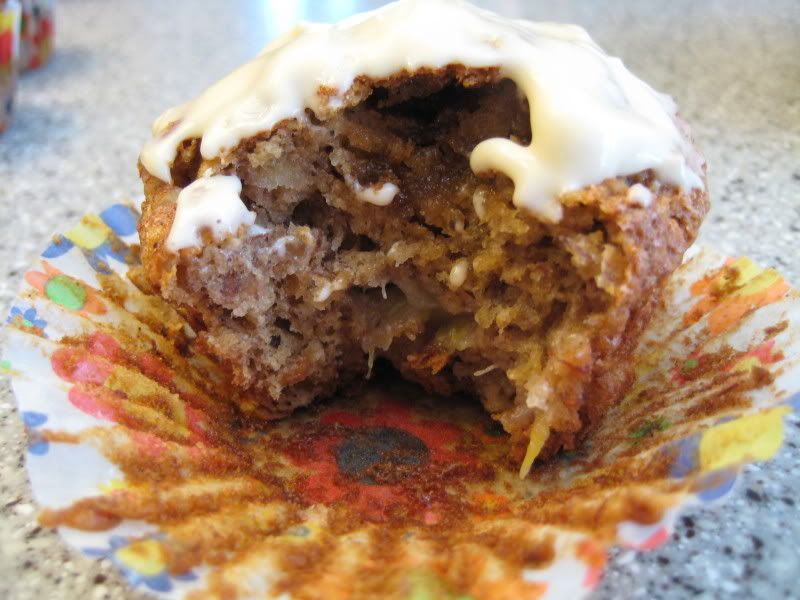
I doubled the recipe and ended up with 39 regular sized muffins. After baking the first half of the batter, I ran out of pecans for the topping. To top the remaining muffins, I devised a cream cheese frosting. Both toppings are absolutely delicious. I made one or two muffins with both toppings and they were especially sinful. This could probably be made into a loaf instead of muffins, but the batter is rather dense and would probably not work well.
Ingredients:
Batter:
- 3 ripe Bananas
- 1/3 cup Pure Maple Syrup
- 1/2 cup chopped Pecans
- 2 cups Gluten-Free Flour*
- 1 tsp Xanthan Gum
- 1 cup packed Brown Sugar
- 1 tsp Baking Soda
- 1/2 tsp Salt
- 1 tsp Pumpkin Pie Spice (equal parts cinnamon, nutmeg and ginger)
- 2 tbsp Dry Buttermilk Powder
- 2 Eggs, beaten
- 1/3 cup Vegetable Oil
- 1/2 cup Water
Maple Pecan Topping:
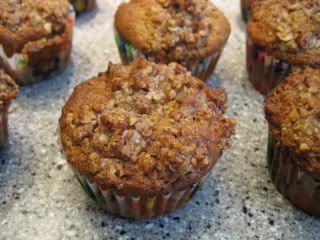
- 3/4 cup chopped Pecans
- 1/4 cup Pure Maple Syrup
Cream Cheese Frosting:
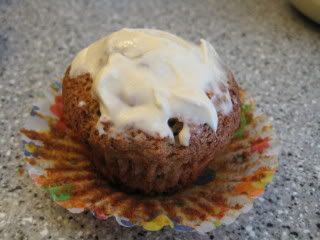
- 6oz Cream Cheese, softened
- 1/4 cup Pure Maple Syrup
- 1/4 cup packed Brown Sugar
* For the flour mix, I used Bette Hagman's Mix with great success:
Directions:
- Combine mashed bananas with 1/3 cup maple syrup and 1/2 cup pecans. Mix well and set aside.
- Combine flour, xanthan gum, sugar, baking soda, salt, pumpkin pie spice and dry buttermilk. Alternatively, if you do not have premixed pumpkin pie spice, use equal parts cinnamon, ginger and nutmeg (I used extra cinnamon). Mix together well.
- Make a well in the center of dry ingredients. Combine eggs, oil, and water in separate bowl. Pour into center of dry ingredients and stir with a wooden spoon just until dry ingredients are incorporated.
- Use a spatula or knife to make three or four "troughs" in the dough/batter. Spoon banana mixture into troughs. Gently fold bananas into dough with knife.
- Spoon dough into muffin cups. If using maple pecan topping, sprinkle muffins with maple pecan mixture prior to baking. If using cream cheese frosting, beat ingredients together and spread on tops of muffins after they are baked, not before.
- Bake at 375 for 20 minutes or until they test done. Try not to underbake, I baked mine for a little longer, maybe 22-23 minutes. Makes about 18 good sized muffins.
Be sure to post a review of my recipe on Recipezaar: http://www.recipezaar.com/banana-maple-pecan-bread-muffins-gluten-free-365191
You probably don't want to know the nutrition information...
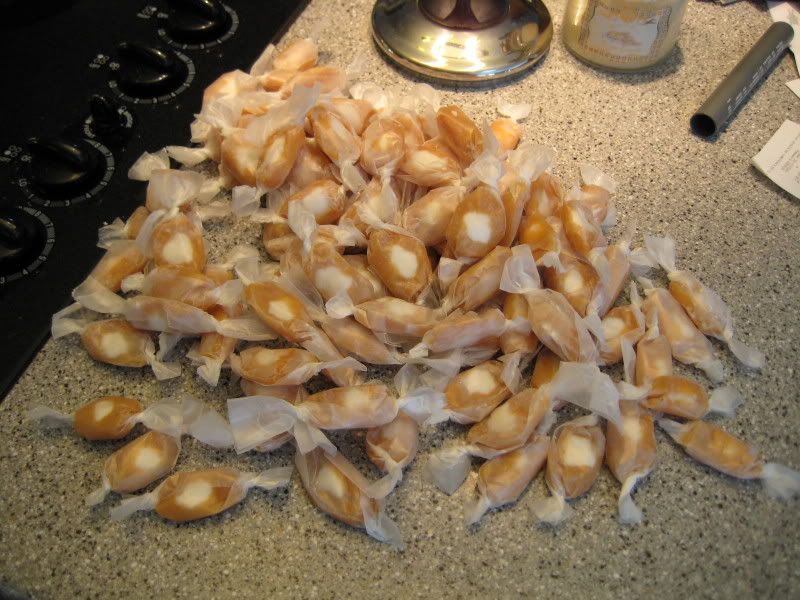
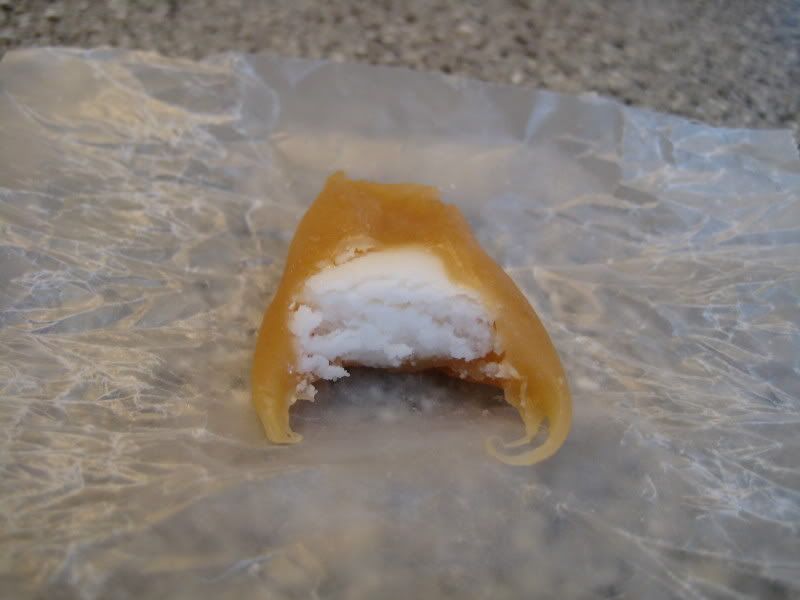 I haven't had a Goetze's Bull's Eye caramel in over 2 years. For some reason, they have wheat in them. I have tried searching for a copycat recipe that I could modify to be Gluten-Free but came up empty handed. I could only find copycat recipes for some sort of BBQ sauce (not exactly what I had in mind). So instead I made my own! I used a recipe for caramels and a separate recipe for the cream filling. The resulting caramels from this recipe are much more creamier than authentic Bull's Eyes and I think they taste better for it. These are also terrible for you, so don't eat too many.
Ingredients:
Caramel:
- 2 cups Heavy Cream
- 1/2 cup Condensed Milk
- 2 cups Light Corn Syrup
- 1/2 cup Water
- 2 cups Granulated Sugar
- 1/2 cup Butter, softened
Cream Filling: - 1/8 oz unflavored Gelatin (1/2 an envelope)
- 2 tbsp Cold Water
- 1/2 cup Shortening
- 2 1/2 cups Powdered Sugar
- 1 tsp Vanilla Extract
- Powdered Sugar, for dusting
Directions:
- Prepare a 9x9 pan by lining it with aluminum foil and spraying the foil with nonstick cooking spray.
- Combine the cream and condensed milk in a small saucepan and place the saucepan on a burner set to the lowest heat setting. Do not allow to boil, just keep warm.
- In a medium-large saucepan combine the corn syrup, water, and granulated sugar over medium-high heat.
- Stir the candy until the sugar dissolves, then use a wet pastry brush to wash down the sides of the pan to prevent sugar crystals from forming and making the candy grainy.
- Insert a candy thermometer and reduce the heat to medium. Allow the mixture to come to a boil and cook until the thermometer reads 250°F.
- Add the softened butter and the warm milk-cream mixture. The temperature should decrease about 30°F.
- Continue to cook the caramel, stirring constantly so that the bottom does not scorch. Cook it until the thermometer reads 244F, and the caramel is a beautiful dark golden brown.
- Remove the caramel from the heat and immediately pour into the prepared pan. Do not scrape candy from the bottom of the saucepan. Allow the candy to sit overnight to set up and develop a smooth, silky texture.
- When you are ready to cut the caramel, place a piece of waxed paper on the counter and lift the caramel from the pan using the foil as handles. Flip the top of the caramel onto the waxed paper and peel the foil layer from the bottom of the caramel.
Cream Filling: - Dissolve unflavored gelatin in cold water.
- Set in heat proof cup in pan; Simmer until clear.
- Let cool.
- Cream together shortening, powdered sugar, and vanilla.
- Add cooled gelatin and beat for 10 minutes.
- Here comes the time consuming part. Cut a large amount of wax paper rectangles. Try around 3" x 3", adjusting once you get the hang of it.
- Take a small piece of caramel, about half of a cubic inch, work into a doughnut shape.
- Take a small amount of cream filling, about the size of .5" diameter sphere, and press into center of caramel. Dust caramel with powdered sugar. This will prevent the caramel from sticking to the paper and your hands.
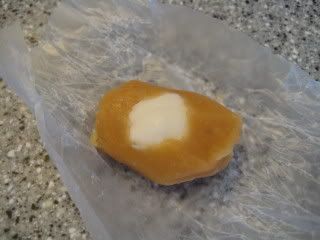
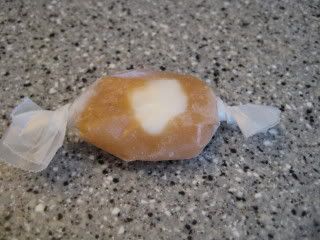
- Shape the caramel into a less flat figure and place into center of wax paper square. Wrap paper around caramel.
- It will take you a few tries to get the technique down. Don't worry about less than perfectly shaped caramels, just eat them! (My stomach hurt after making these, heh).
- I ended up with 105 caramels and used about 4/5 of the cream filling. It took me 2.5 hours alone to wrap all of them. I'd recommend enlisting some help. Try bribing some children with promises of candy...